

Here in south-central Montana, spring is beginning to make its presence more evident. Easter is a few short weeks away and Pinterest is alive with a plethora of creative ideas. One I have frequently seen is bunny and/or egg garland.

While visiting the Dollar Store recently I saw the cutest sparkly egg garland but it seemed to need a little something more. Suddenly all that Pinterest inspiration came rushing in and I snatched a set to dress-up when I got home!
 |
| I forget to take a picture of the entire strand before I started the project, these are screen shots off of the video I took! |
Here is how it went down:
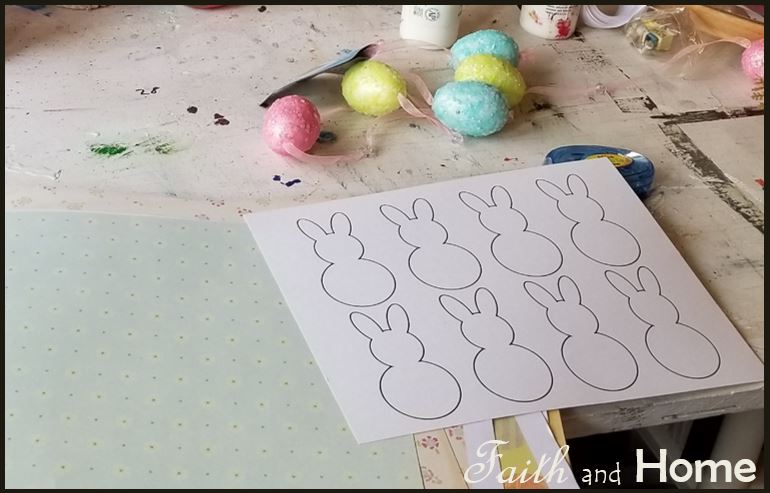
I designed a bunny template which is available in my FREE monthly newsletter (you can see details for sign up at the end of this post. If you decide to register, I will try to send this month's edition straight to your in-box within 48 hours). I printed my template on card stock so it would be sturdier.
I've been collecting scrapbook paper for years and happened to have a sweet set of prints perfect for spring. I chose a few which seemed to reflect the colors of the egg garland well and gave the line some variety.


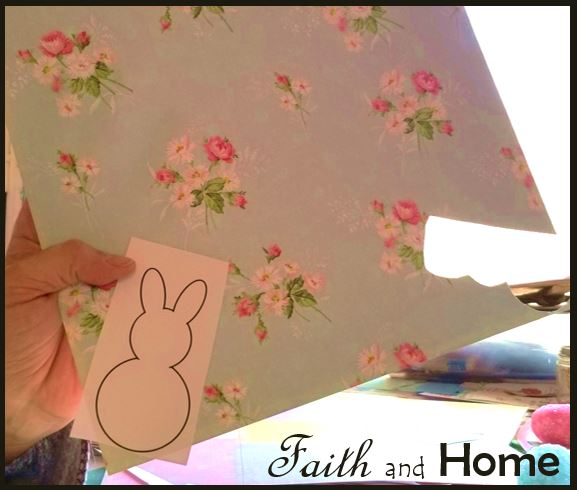
I cut my bunnies out in blocks to separate them and then secured them with a small strip of tape at their 'bottom' on the WRONG side of the scrapbook paper (you will see why in a minute). I cut them out in this way.

PSA: I LOVE my crafter's tape... it is quite affordable (I bought mine in a multi-pack on Amazon) and it works like a charm (no more waiting for glue to dry!!)


I like this garland because, not only are the eggs in an assortment of beautiful colors, but each is separated by a clear bead which can be slid along the line. I created a pattern of: egg, bunny, bead, egg..... However, you could actually un-string all elements of this garland and re-string them differently if you wanted. Me, I wanted something quick and easy!!

I filmed the entire process which is still available in saved stories on my Instagram account. If I hadn't been filming, this project could have been easily done within 30 minutes!
What Pinterest inspired (or self-inspired) Easter decor projects have you tried lately?
Blessings,

You can see what I am pinning by following me on Pinterest as well!

You can click here to see some of the great blogs I am linking up today ...

*Are you subscribed to my FREE monthly newsletter? You might want to be. Why? Well, the newsletter contains bonus material you won't find on the website... not to mention, in those busy months when I can't get regular blog articles up, you can count on this periodical popping up in your email in-box each last Thursday with all new content! What exactly does the newsletter contain?
- Encouraging articles on Faith, Home(making), and Homeschool
- Free printables under different themes each month
- Insider info on the latest goings-ons with all things on my blog and writing related
I look forward to sharing Faith and Home Times with you!!
Such a cute little garland, I love the way you jazzed up the dollar store garland. Happy Easter! Blessings, Loni
ReplyDeleteThank you! Glad you enjoyed it :-) Happy Easter to you as well!!
Delete